Mastering Drywall Taping: Expert Tips for a Flawless Finish
Drywall taping is an art that, when mastered, results in seamless walls ready for painting or wallpaper application. Whether you’re a seasoned DIY enthusiast or a professional contractor, achieving a flawless finish can elevate the aesthetic appeal of any space. In this blog, we’ll explore expert tips to help you master the drywall taping process. As leaders in the drywall industry, Lvl 5 Contracting is here to guide you through the essentials.
Understanding the Basics of Drywall Taping
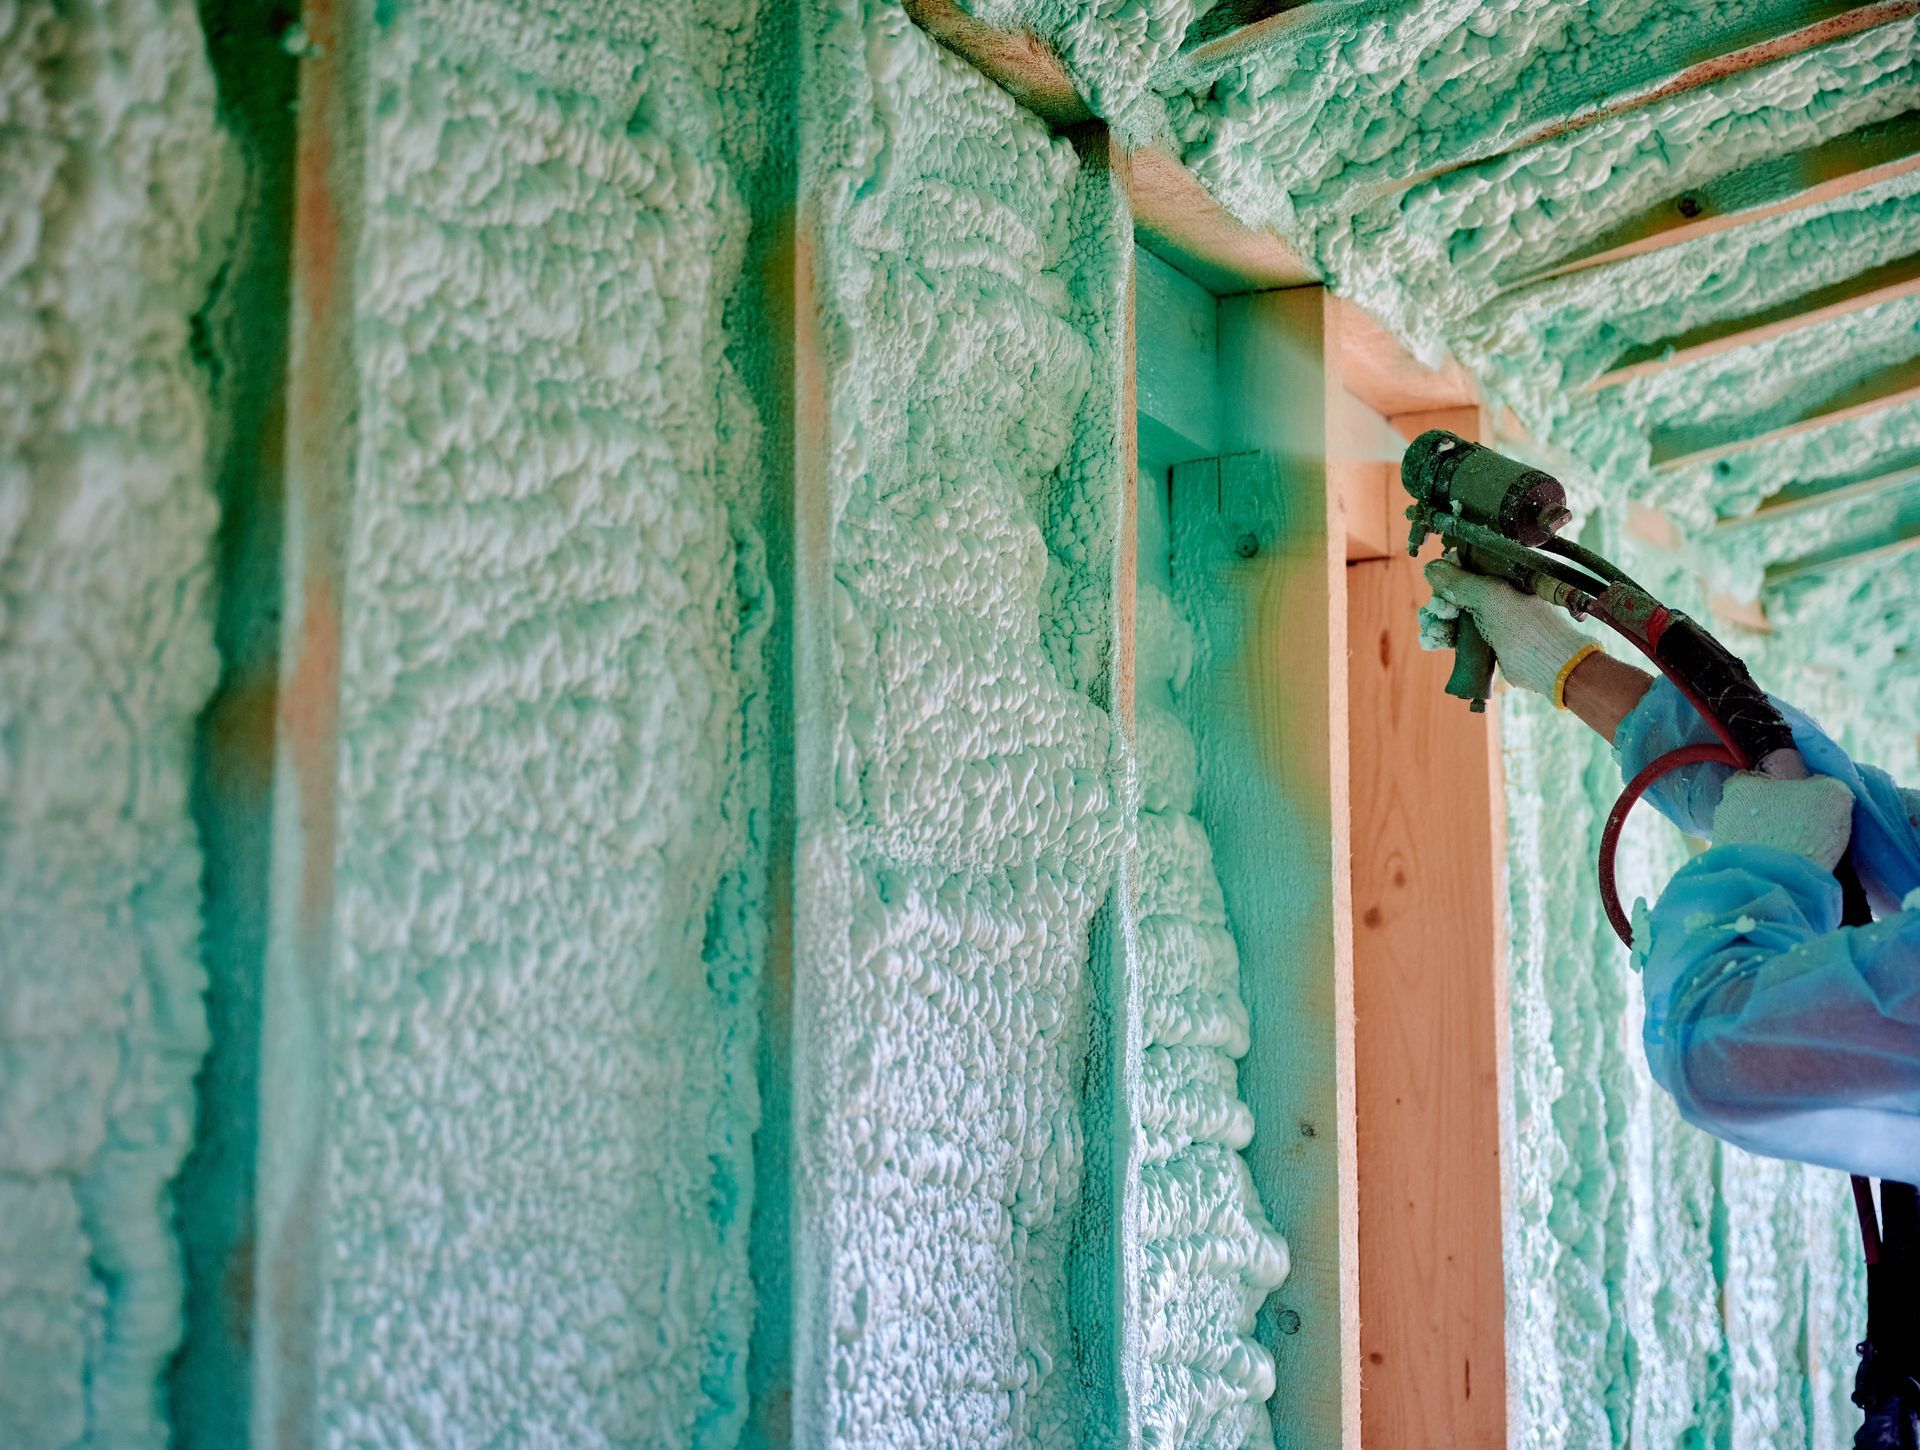
Before diving into the taping process, it's crucial to understand what drywall taping entails. Simply put, drywall taping involves applying joint compound over drywall joints, seams, and screw indentations, and then embedding paper or mesh tape to cover these areas. This step is critical in ensuring a smooth, crack-free finish that stands the test of time.
Prepare Your Workspace
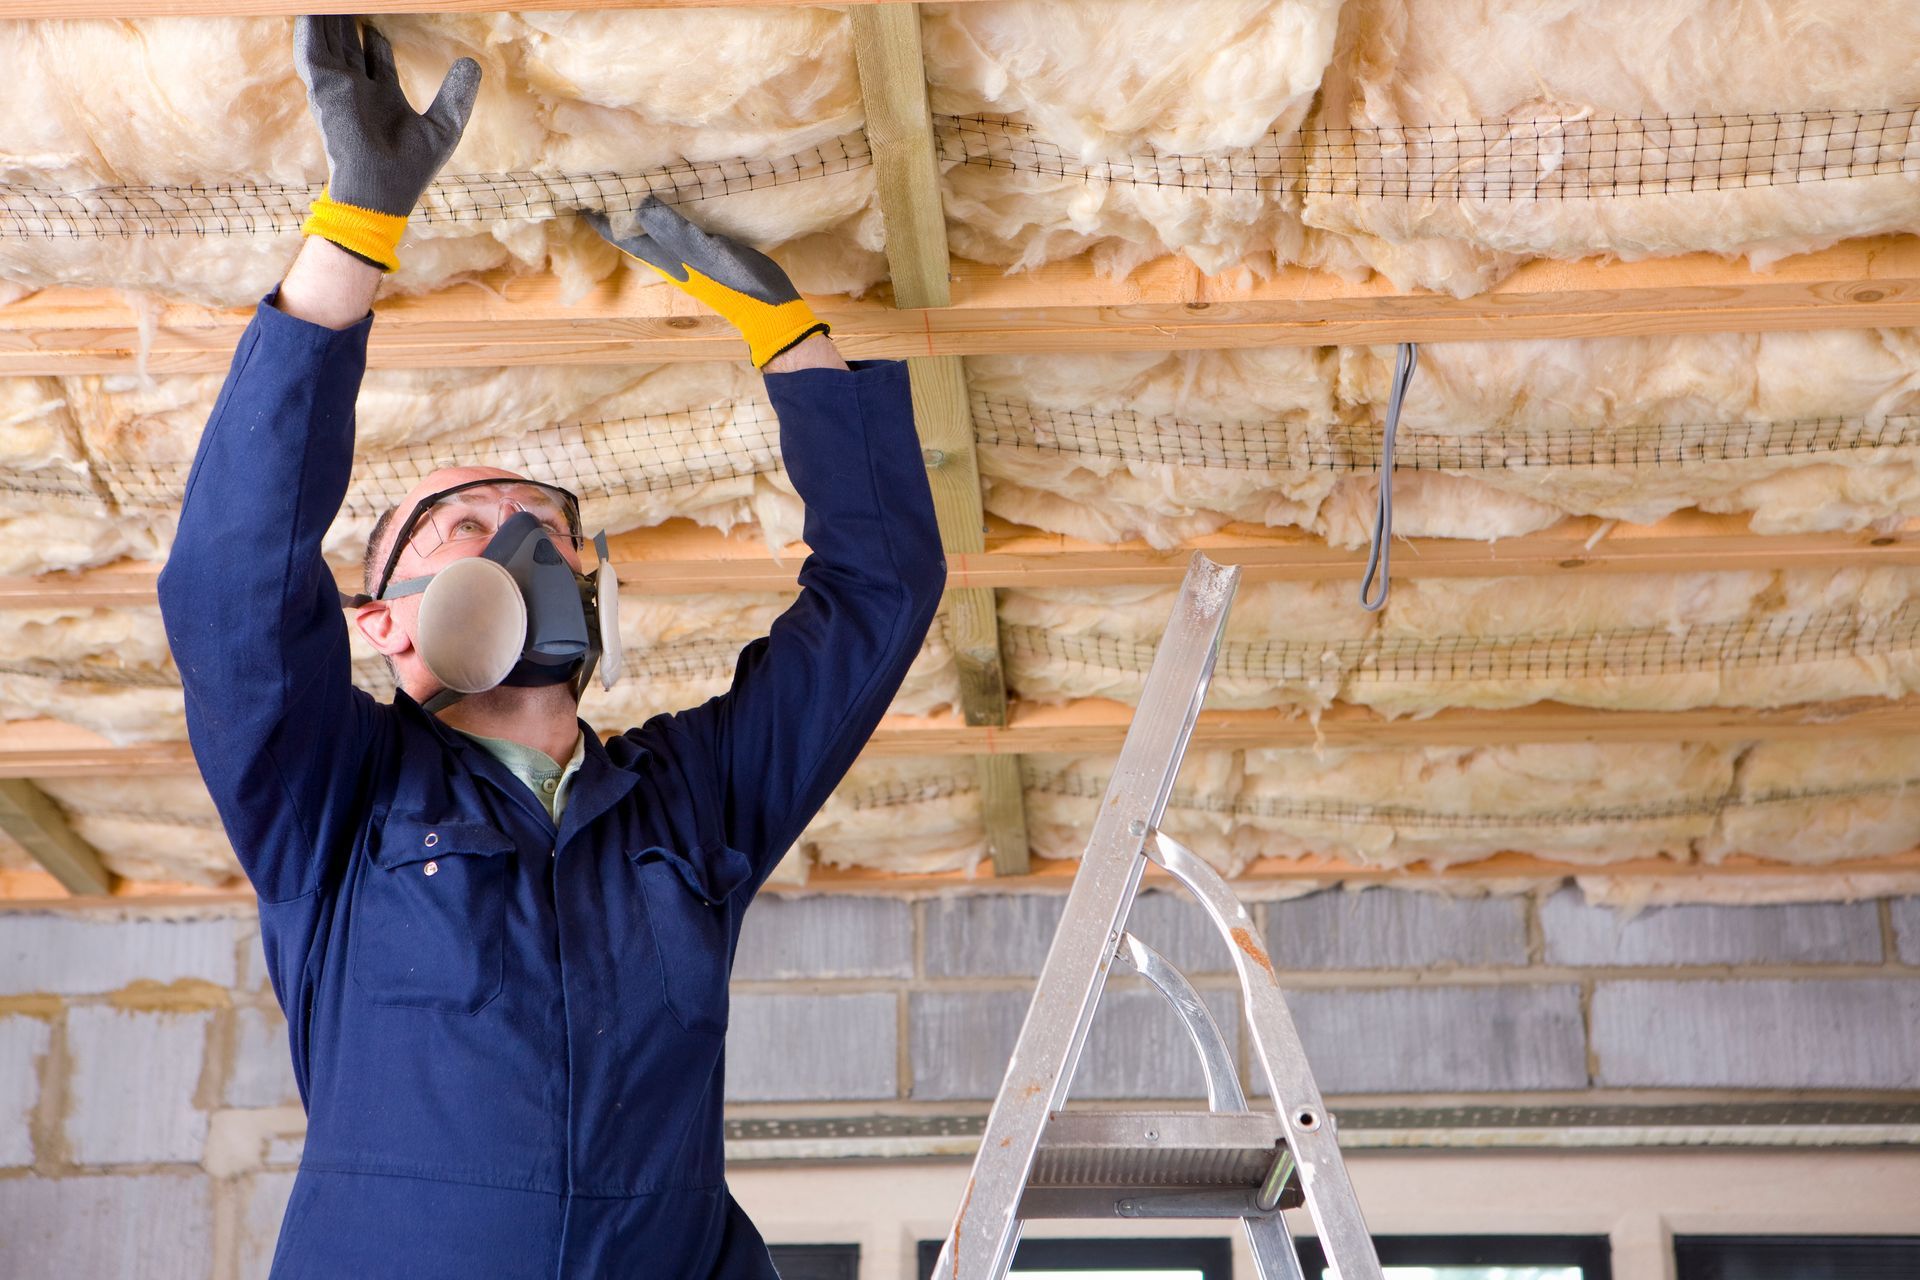
Preparation is key to a successful drywall taping project. Begin by ensuring your workspace is clean and free of dust and debris, as this can affect the adhesion of the joint compound. Gather all necessary tools, including joint compound, paper or mesh tape, a taping knife, and a mud pan. Proper preparation can prevent common issues such as air bubbles and cracks.
Choose the Right Tape
Selecting the right type of tape can significantly impact your results. Paper tape is popular for its strength and minimal stretch, making it ideal for flat seams. Mesh tape, on the other hand, is self-adhesive, making it easier to apply but less strong than paper tape. Consider your specific project needs and taping skill level when choosing between paper and mesh tape.
Master the Mixing Technique
Mixing the joint compound to the right consistency is crucial for a flawless finish. For taping, the compound should have a creamy, smooth consistency, similar to peanut butter. If the compound is too thick, add a small amount of water and mix thoroughly. Avoid making the mixture too thin, as this can weaken the bond and cause sagging.
Apply the Compound with Precision
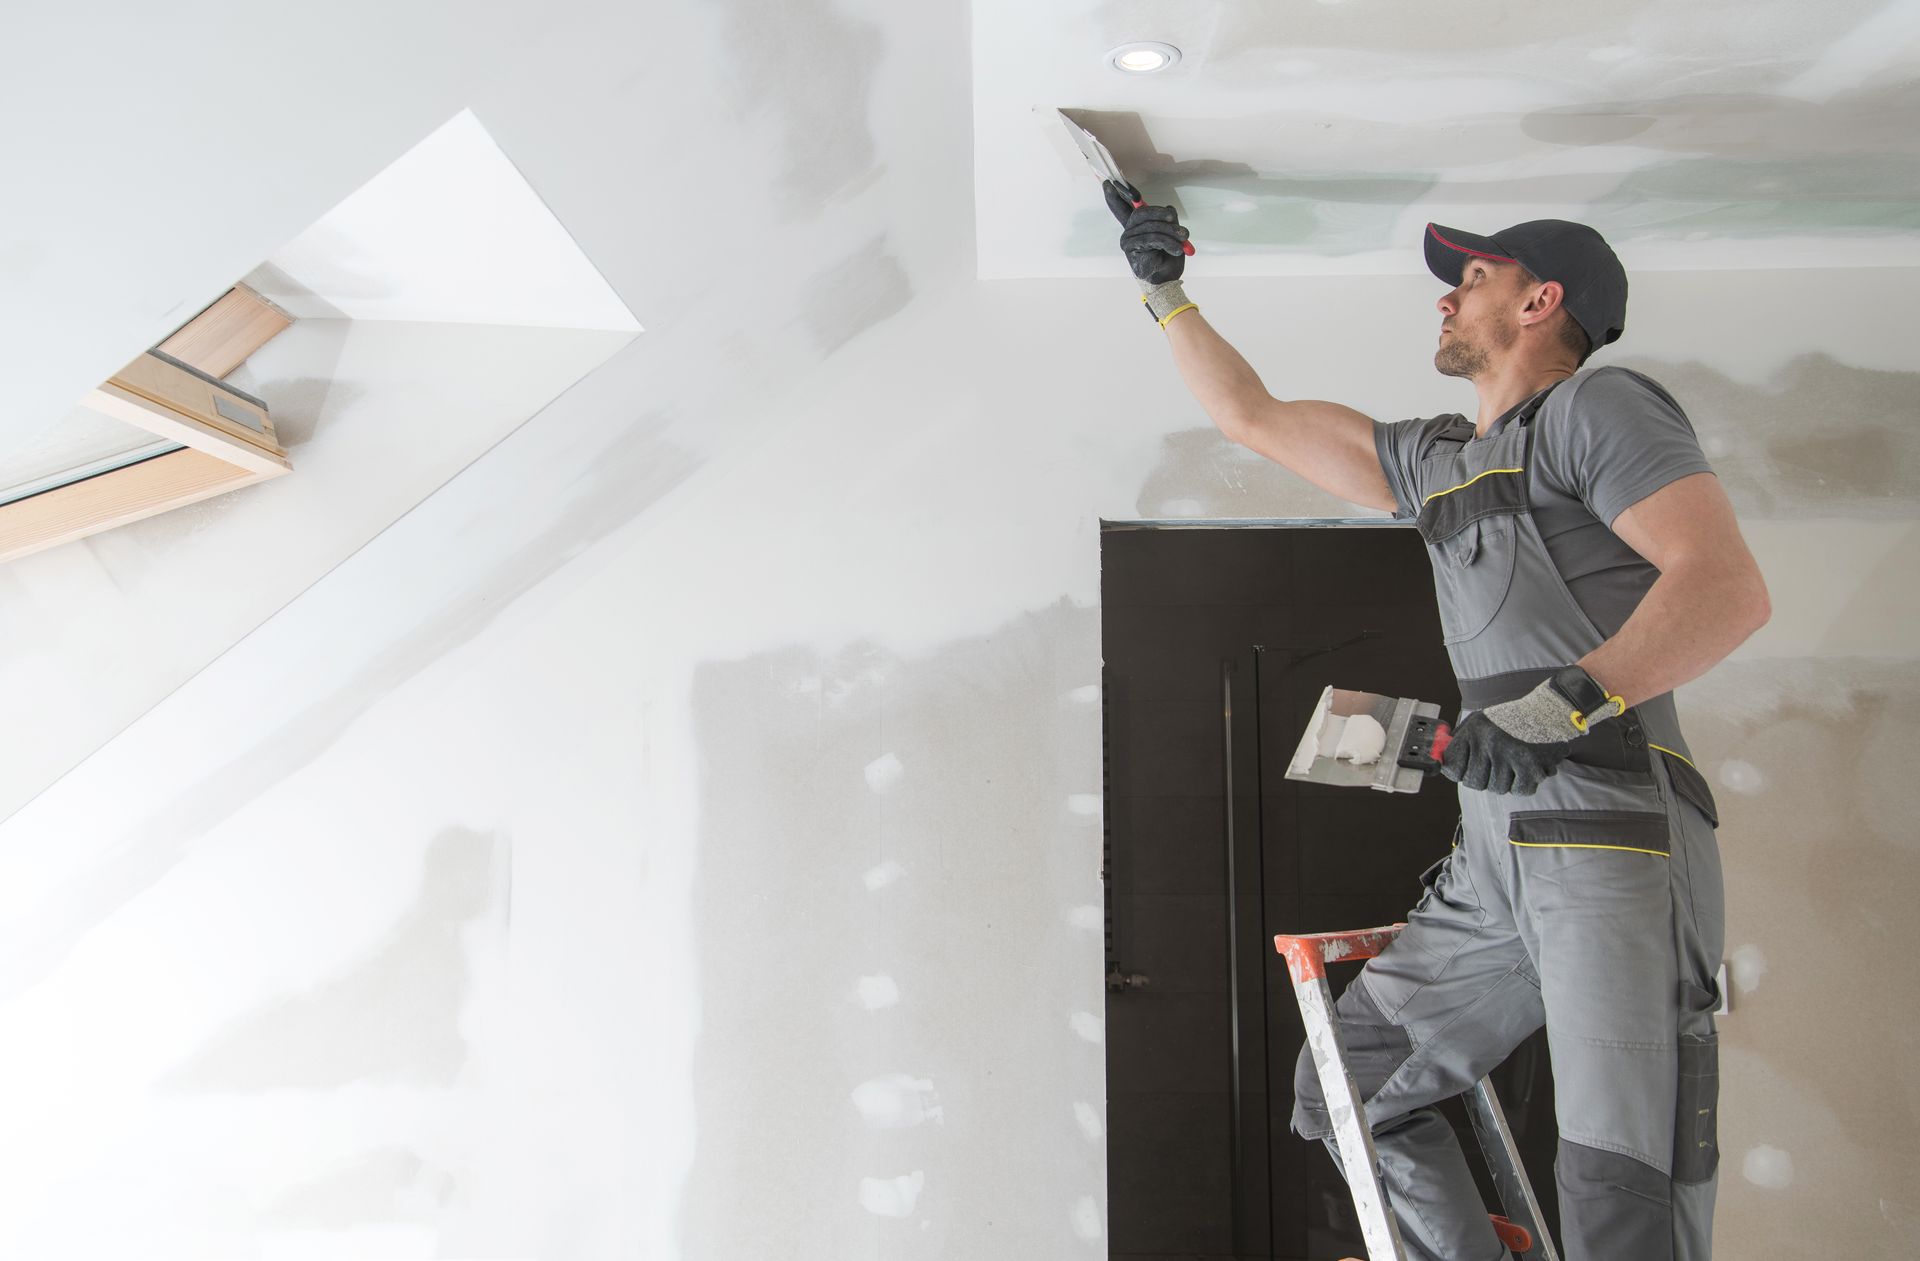
Begin by applying a thin layer of joint compound over the seams using a taping knife. Hold the knife at a 45-degree angle and apply consistent pressure to spread the compound evenly. It's important to avoid too much compound, which can lead to excessive sanding later on. Focus on achieving a smooth, even layer that covers all seams and screw indentations.
Embed the Tape
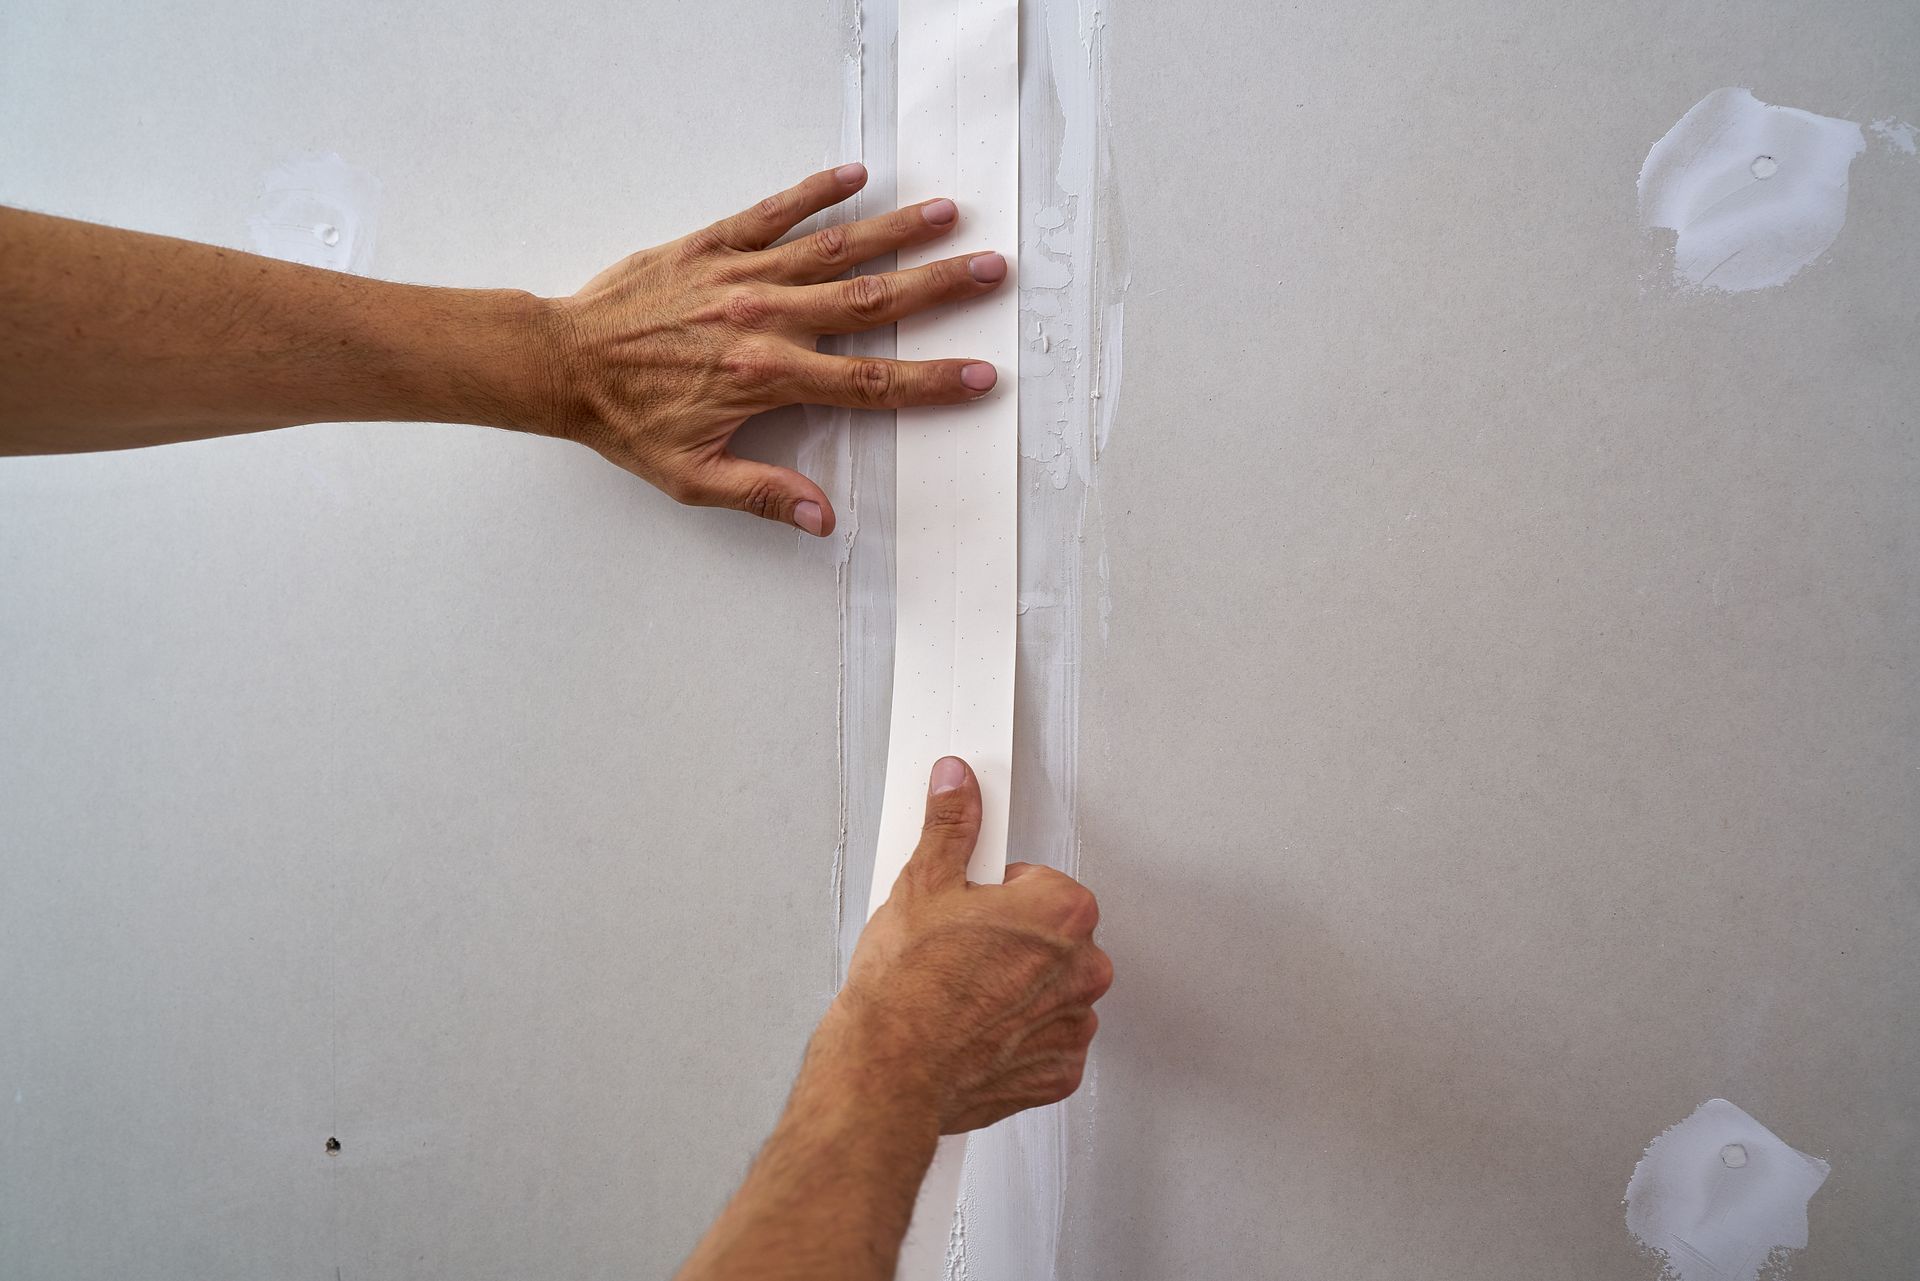
Once the compound is applied, it's time to embed the tape. For paper tape, cut strips to the length of each seam and carefully place it over the wet compound. Use the taping knife to press the tape firmly into the compound, ensuring there are no air bubbles. For mesh tape, stick it directly on the seams and proceed to cover with another layer of compound.
Feather the Edges
Feathering the edges of the compound is essential for a seamless blend with the drywall surface. Use a larger taping knife, typically 10 to 12 inches, to apply a second coat. This layer should extend beyond the edges of the first coat, gradually tapering the thickness. Feathering reduces visible lines and ensures a smooth transition to the surrounding drywall.
Patience in Drying and Sanding
Allow each coat of compound to dry completely before applying the next. Patience is key to preventing cracks and shrinkage. Once the final coat is dry, lightly sand the surface with fine-grit sandpaper. Focus on creating an even, smooth surface, being careful not to sand too aggressively and damage the underlying tape.
Troubleshooting Common Issues
Even experts encounter challenges in drywall taping. Common issues include bubbling, cracking, and visible seams. To address bubbling, ensure the compound layer is thin and evenly spread. Cracking can be minimized by allowing sufficient drying time and avoiding overly thick layers. If seams remain visible, additional feathering or a final skim coat may be necessary.
Wrap it Up with Confidence
Now that you’ve mastered the art of drywall taping, you’re ready to take on any project with confidence. Remember, practice makes perfect. With each taping project, your skills will improve, leading to better and more efficient results.
Elevate Your Space with Lvl 5 Contracting
Thinking of taking your drywall projects to the next level? At Lvl 5 Contracting, we specialize in drywall taping and mudding, offering expert services across Kitchener and the Greater Toronto Area. Our team of skilled professionals is committed to delivering flawless finishes that enhance the aesthetic and functional aspects of your space. Ready to transform your interiors? Get in touch with us today and let’s create something extraordinary together. Whether it's a residential renovation or a commercial upgrade, we're here to make your vision a reality. Contact us now to get started!
Share This Blog