Repairing Water-Damaged Drywall: A Step-by-Step Guide
Water damage can wreak havoc on drywall, leading to structural issues and unsightly blemishes. Whether due to a leaky roof, burst pipes, or flooding, it’s important to address water damage promptly to maintain the integrity and appearance of your walls. At LVL 5 Contracting, we specialize in drywall repair and are here to guide you through the process of restoring your home. This step-by-step guide will help you understand how to effectively repair water-damaged drywall, ensuring your home remains safe and beautiful.
Understanding the Impact of Water Damage
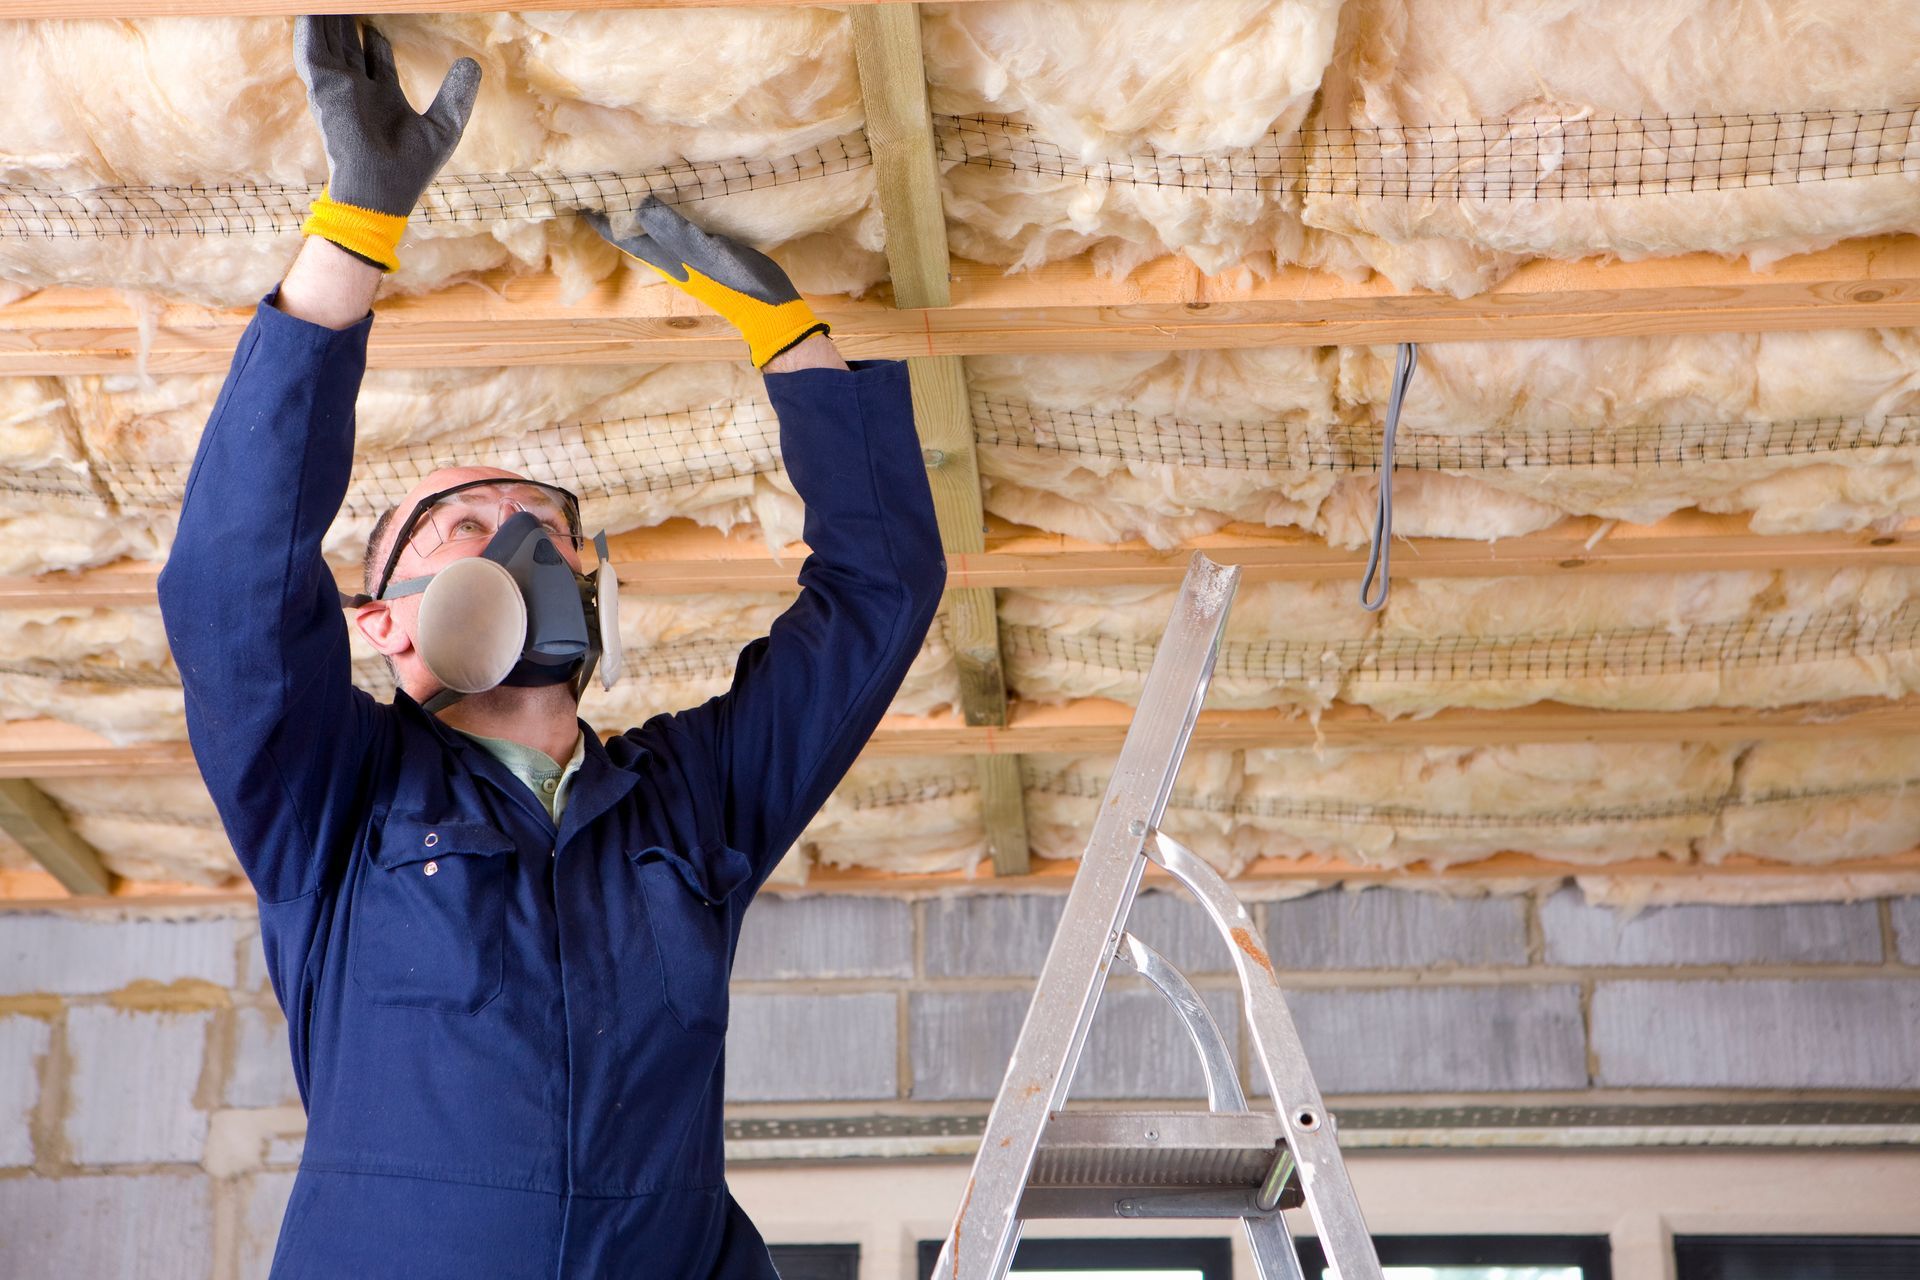
Before diving into the repair process, it's crucial to understand the nature of water damage and how it affects drywall. Water can cause drywall to become soft, swell, or even crumble. Additionally, prolonged exposure to moisture can lead to mold growth, which poses health risks and further compromises the structural integrity of your walls. Identifying the source of moisture and addressing it is key to preventing future damage.
Step 1: Identify and Fix the Source of Water
The first step in repairing water-damaged drywall is to locate and fix the source of the water intrusion. Whether it’s a leaky pipe, a damaged roof, or poor drainage, resolving the issue at its source is essential. Without addressing the underlying problem, water damage will likely reoccur, and your repair efforts will be in vain.
Step 2: Assess the Extent of the Damage
Once the source of water is fixed, assess the extent of the damage to determine the scope of the repair. Minor damage may be limited to surface stains, while severe damage can involve swollen or crumbling drywall. In cases of extensive mold growth, professional remediation may be necessary.
Step 3: Remove Damaged Drywall
For areas with significant damage, removing the affected drywall section is necessary. Use a utility knife to cut around the damaged area, ensuring you remove all compromised material. Cut along the studs for precise removal and take care to avoid cutting into electrical wiring or plumbing behind the wall.
Step 4: Dry Out the Area
Before installing new drywall, ensure the affected area is thoroughly dried. Use fans, dehumidifiers, and proper ventilation to expedite the drying process. Moisture meters can help confirm that the area is dry enough to proceed. Skipping this step can lead to future issues, including mold growth and further damage.
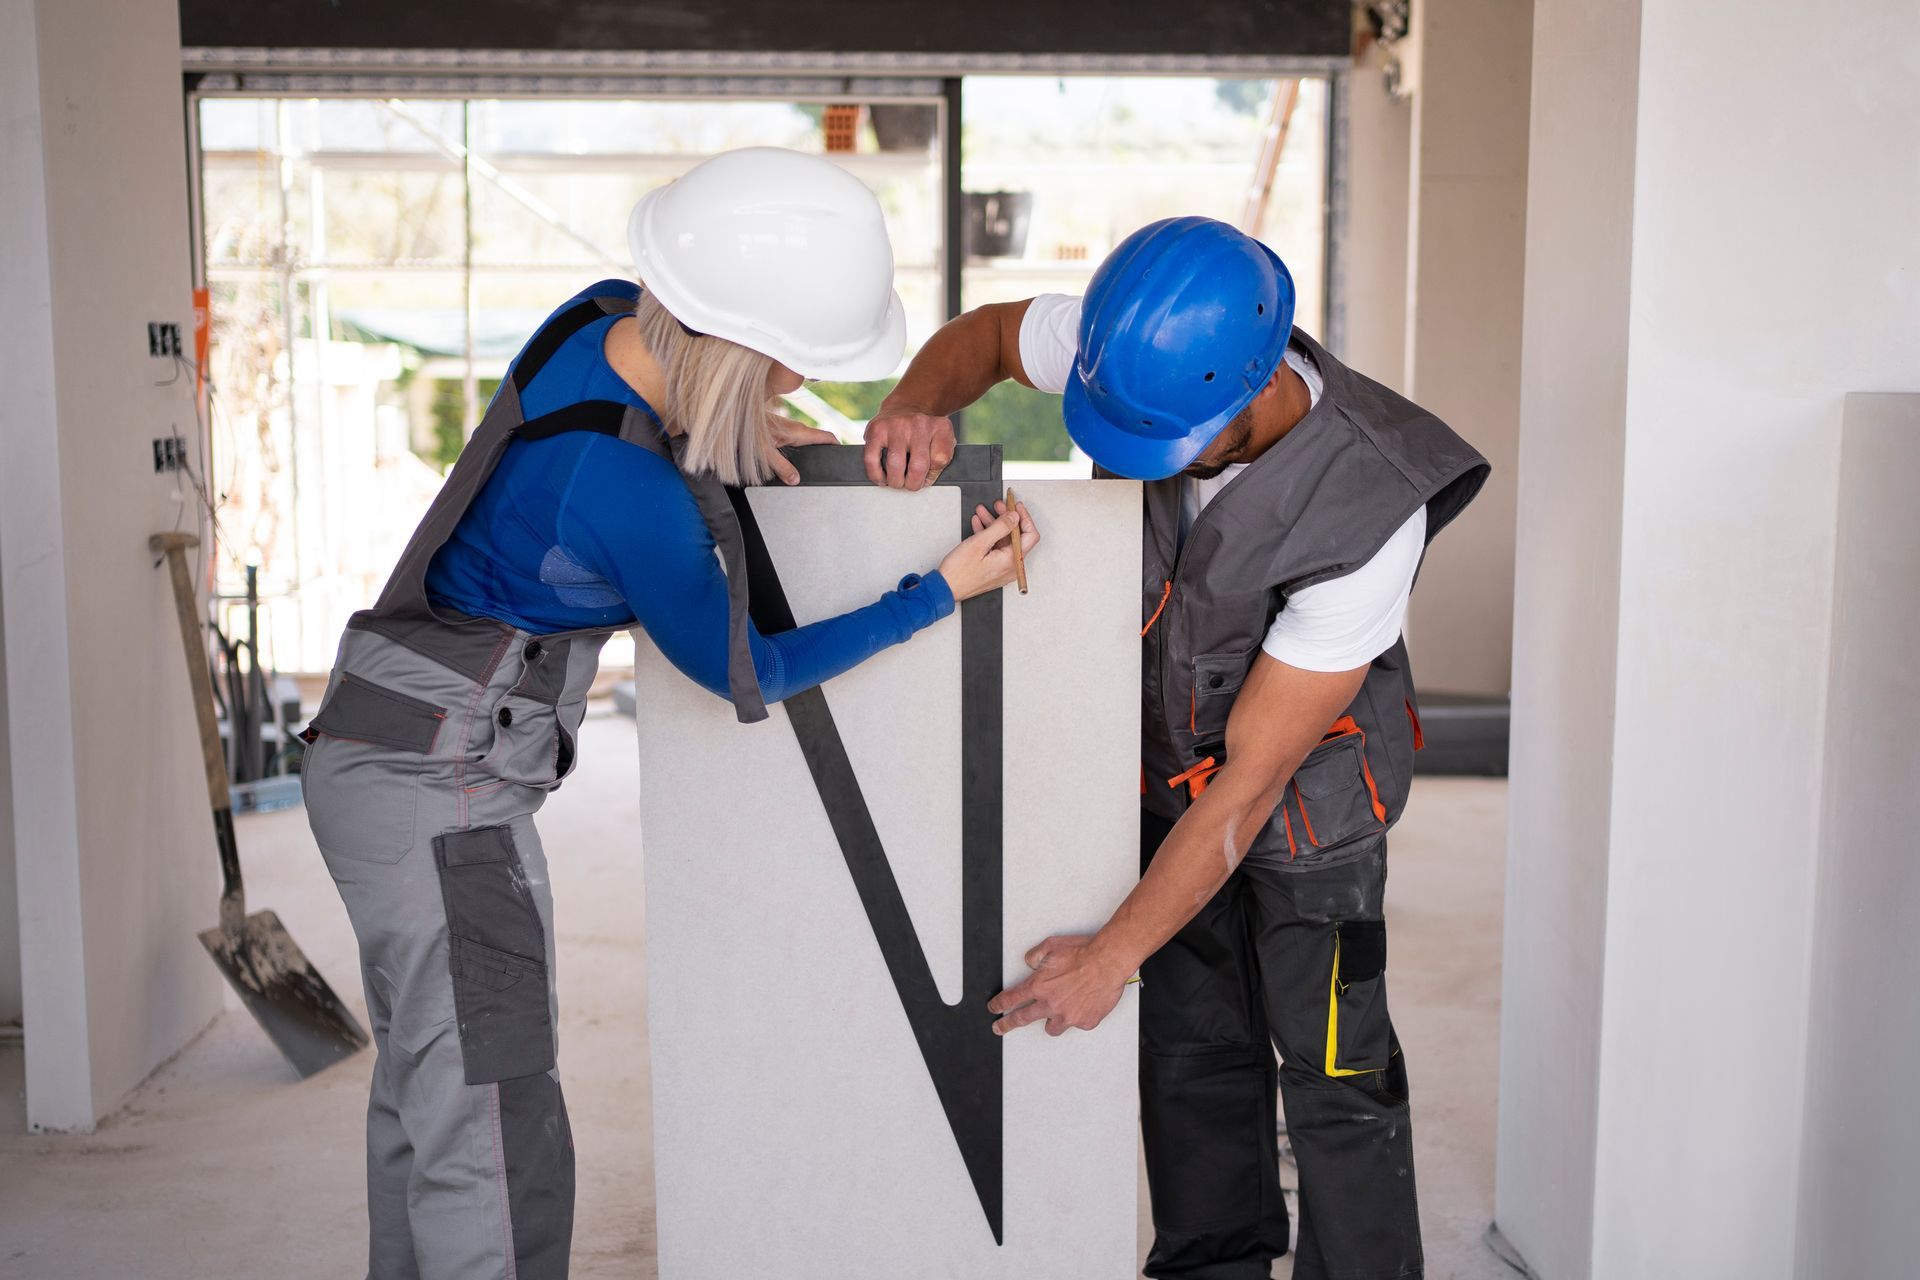
Step 5: Install New Drywall
Cut a new piece of drywall to fit the hole, using the removed section as a template. Secure the drywall in place using drywall screws, ensuring it's flush with the existing wall. If necessary, add additional support pieces within the wall to anchor the new drywall securely.
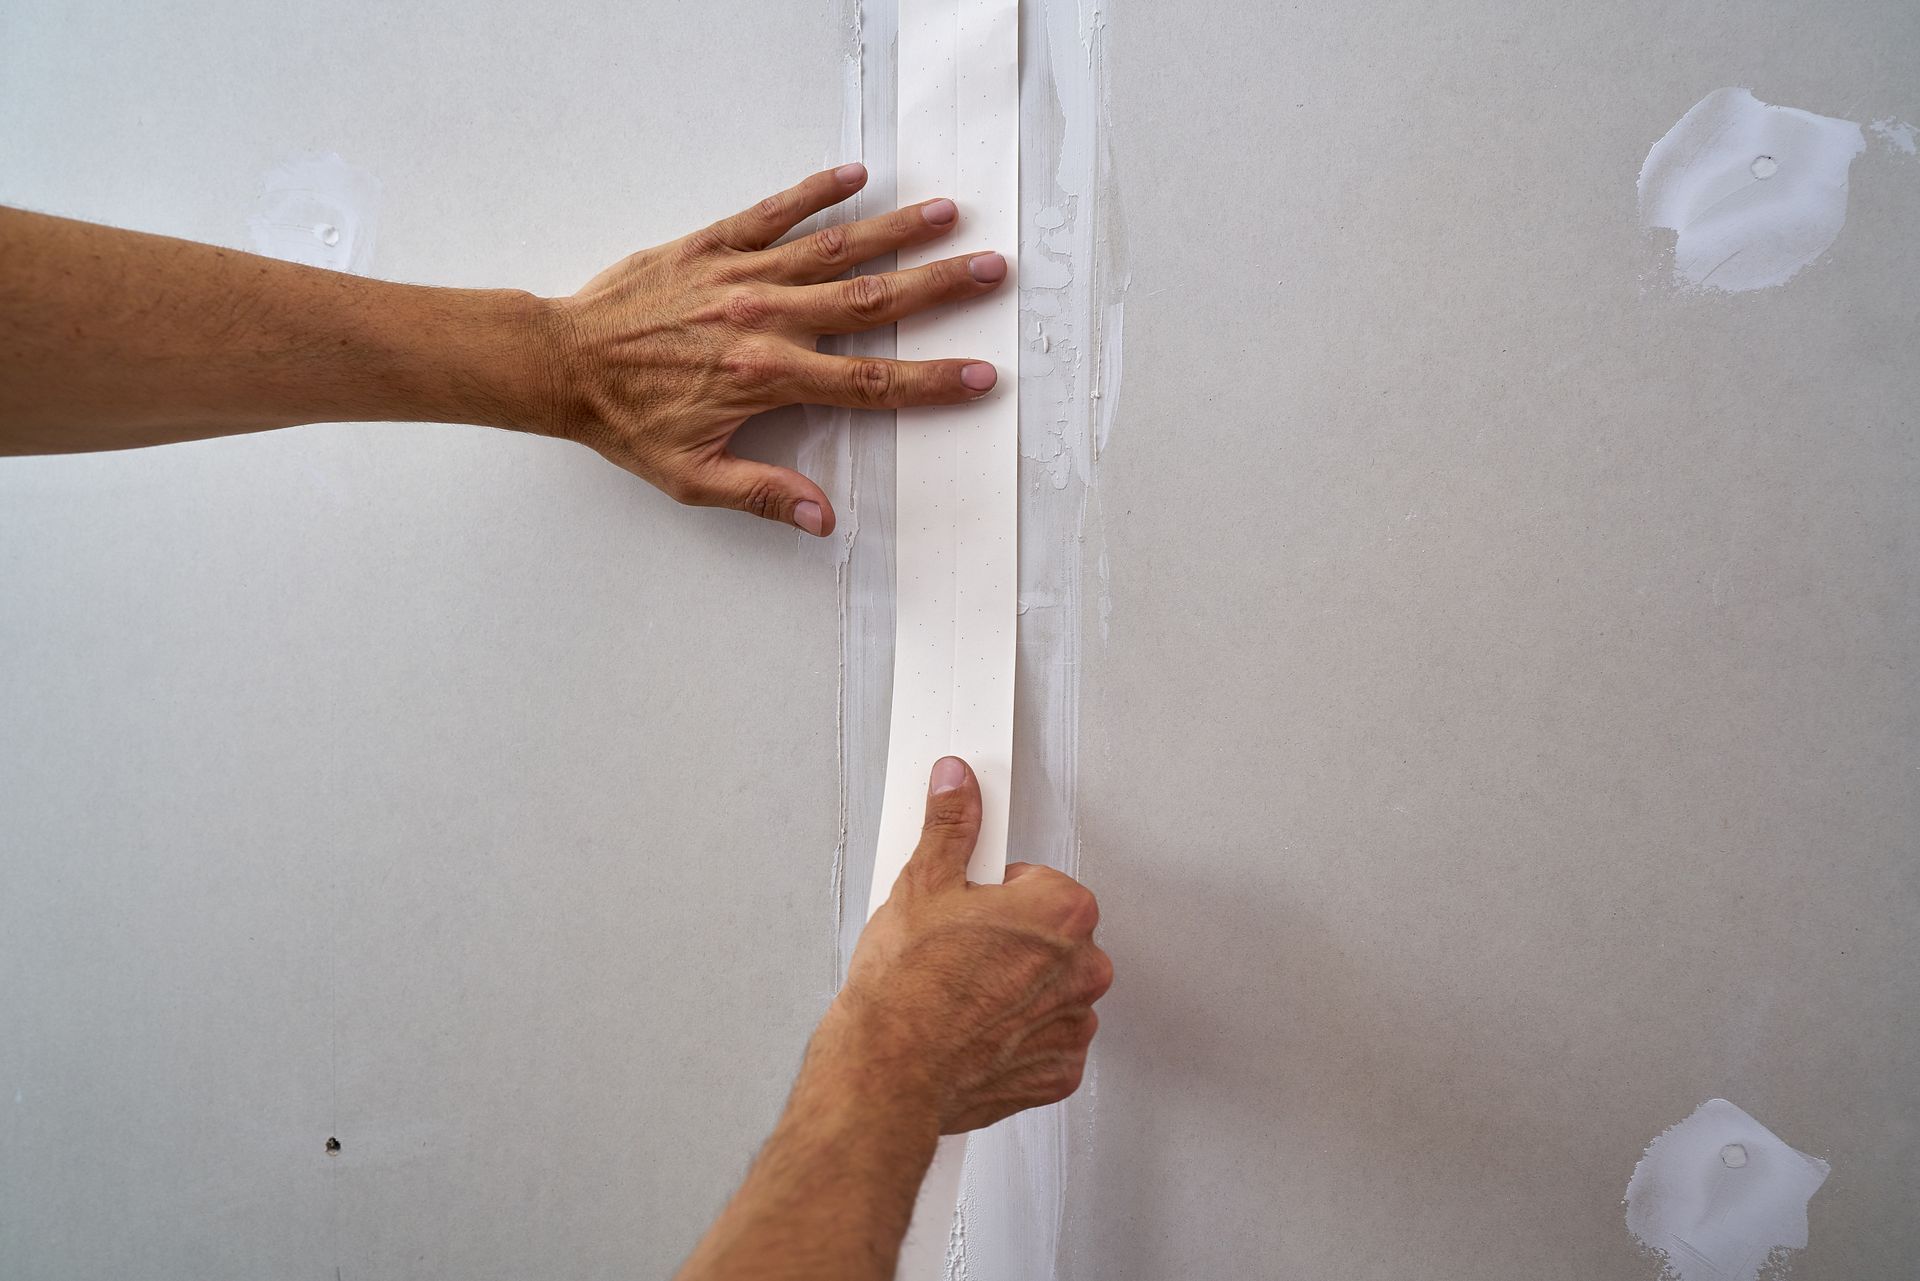
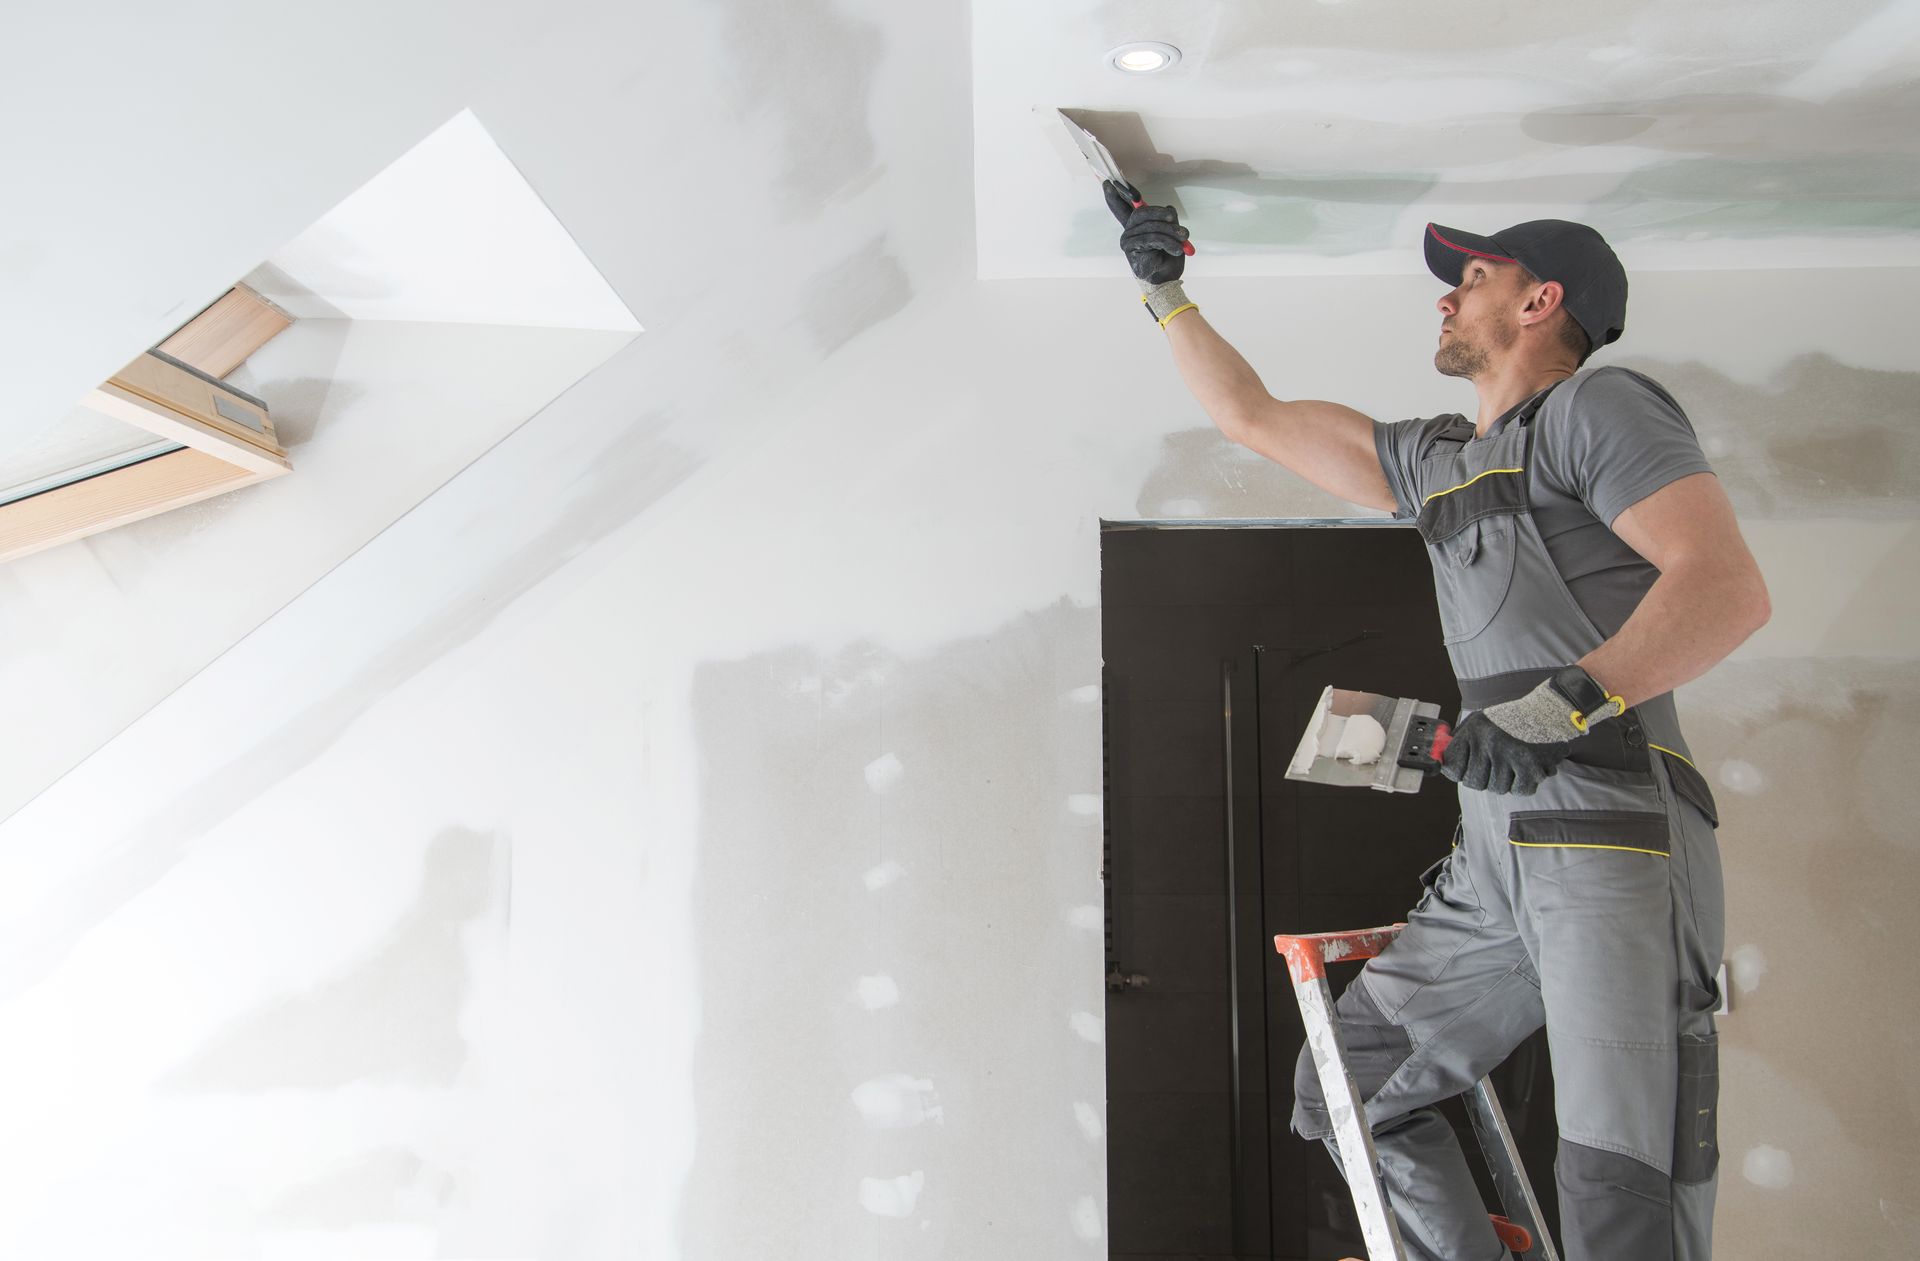
Step 6: Tape and Muddle the Seams
Apply drywall tape over the seams where the new drywall meets the existing wall. Use a joint compound to mud over the tape, creating a seamless transition. Apply multiple thin coats, allowing each to dry before sanding lightly to achieve a smooth finish. Feather the edges of the mud beyond the seams to blend seamlessly with the surrounding wall.
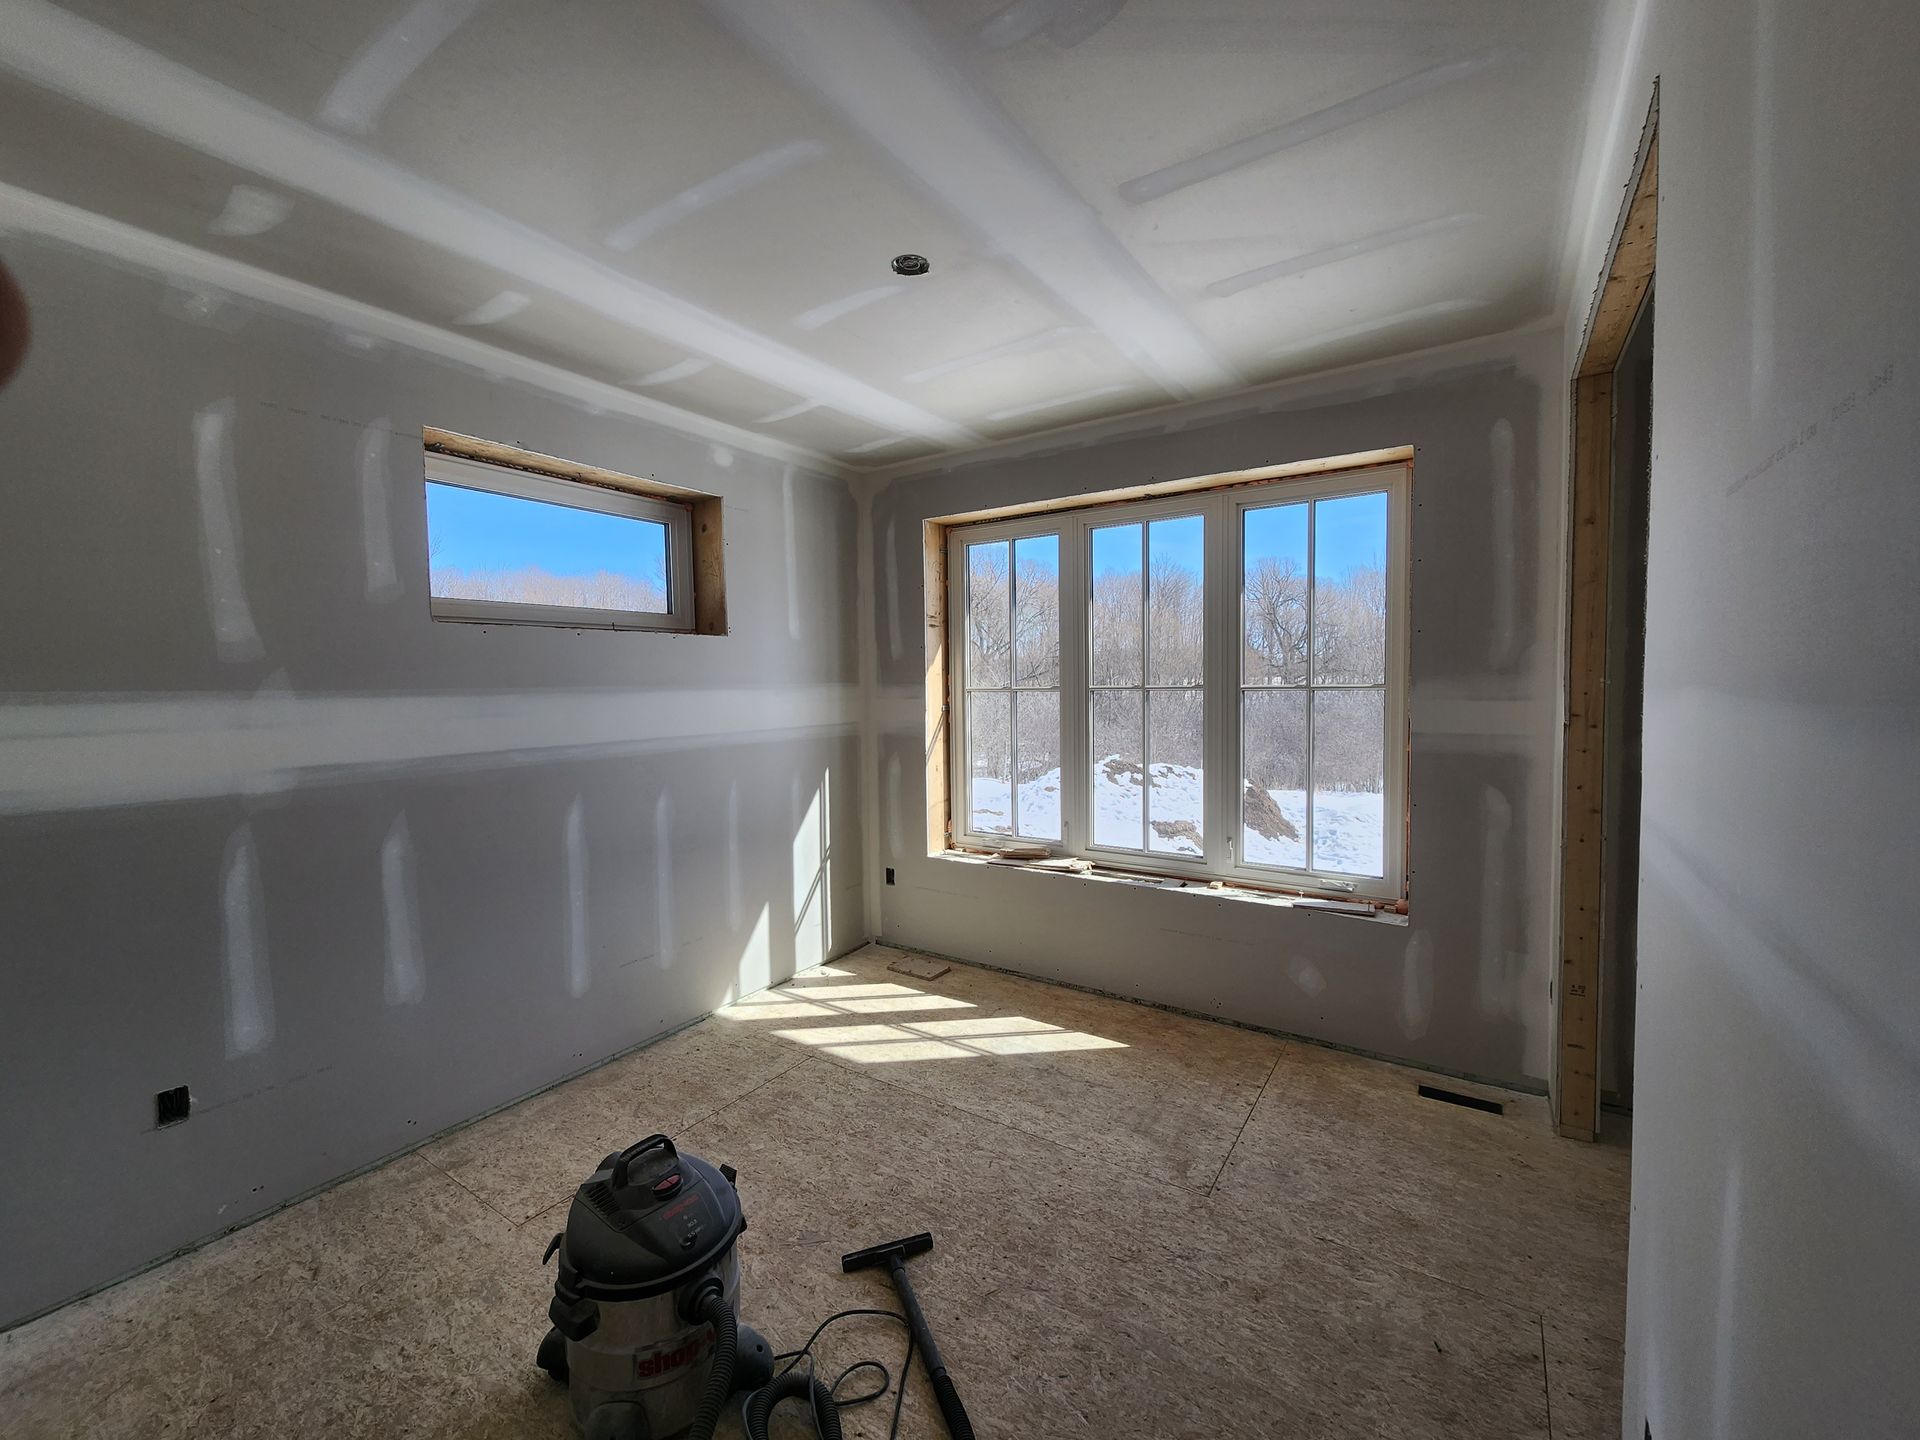
Step 7: Sand and Finish
Once the joint compound is dry, sand the area to create a smooth surface, free of ridges or imperfections. Clean any dust with a damp cloth to prepare for painting or wallpaper application. This step is crucial for ensuring the repaired area is indistinguishable from the rest of the wall.
Step 8: Prime and Paint
Prime the repaired area to provide an even base for painting. Once the primer is dry, paint the area to match the rest of the wall. Use high-quality paint for durability and a uniform finish. If you’re applying wallpaper, follow similar steps to ensure a smooth and lasting application.
Preventing Future Water Damage
Beyond repair, taking measures to prevent future water damage is essential for maintaining the integrity of your home. Regularly inspect plumbing, roofs, and windows for potential leaks. Ensure proper drainage around your home to direct water away from the foundation. Consider installing water detection devices in vulnerable areas for early warning signs of leaks.
Trust LVL 5 Contracting for Professional Drywall Repairs
Repairing water-damaged drywall requires skill and attention to detail. At LVL 5 Contracting, our team of professionals is dedicated to providing high-quality drywall repair services that restore the beauty and strength of your walls. We understand the challenges posed by water damage and are committed to delivering reliable solutions that meet your needs.
Contact us today at (519) 502-3072 or email us at lvl5contracting@gmail.com to schedule a consultation. Let us help you safeguard your home and enjoy peace of mind with expertly repaired drywall. Whether it's a small patch or an extensive restoration, LVL 5 Contracting is here to ensure your home remains a safe and inviting space.
Share This Blog